Last updated: July 2, 2020 at 8:53 PM

DAM-XG7000 (LIVEDAM STADIUM)
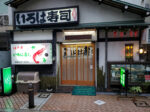
This article is a memorandum about the replacement work of the wireless microphone connected to Dai-ichi Kosho's communication karaoke "LIVEDAM STADIUM" installed in Shinjuku 2-chome popcorn in December of last year.
According to Hina Mama, popcorn karaoke equipment is not included in the maintenance of the karaoke shop for purchase. Probably, the previous owner might have bought the equipment at the lease expiration.
Therefore, if there is a problem with the karaoke equipment, it is a situation where I am doing maintenance within the range that can be done so far.
This time, two of the four BMB microphones connected to Dai-ichi Kosho's Communication Karaoke (DAM-XG7000) failed with two microphones (corresponding to one BMB wireless microphone receiver), so we decided to replace the microphone.
By the way, BMB is a former Nikkodo brand, but now it is integrated into Xing Co., Ltd. (which operates JOYSOUND, UGA).
This time, the microphone that had a problem, because the durability is poor, the microphone sensitivity is not good, we decided to replace it with the microphone of Dai-ichi Kosho with a solid construction.
The replacement work is described in order.
1. Selection of microphones for karaoke

The microphone system for communication karaoke is roughly divided into wired microphones, radio wireless microphones (700MHz/800MHz)*/900MHz) and infrared wireless microphones (2MHz to 6MHz), but the current mainstream is infrared.
*Due to the revision of the Radio Law, wireless microphones (such as the DAM Cyberpro Model-800Pro series) using the B band (806-810 MHz) frequency band will no longer be available from December 1, 2022.
Because the radio wave type reaches too far, the trouble of the cross-line occurs frequently, and it seems that the karaoke shop has come to refrain from adopting it recently.
Therefore, as shown in the image above, I obtained dai-ichi Kosho's infrared wireless microphone set from Yafuoku. I think that this price (16,800 yen) is cheap with a set of two microphones and a resiver. Probably, I think that it will be about 60,000 yen if all of these are aligned with a new article.
The contents of the set are summarized in the table as follows.
| Model number | Description |
|---|---|
| TDR-4000 | Wireless microphone receiver |
| TDM-700A/B | Infrared microphone |
| TDC-330 | Microphone charger |
| TDS-N10 | External light receiving unit & connection code |
2. Replacing the wireless microphone receiver
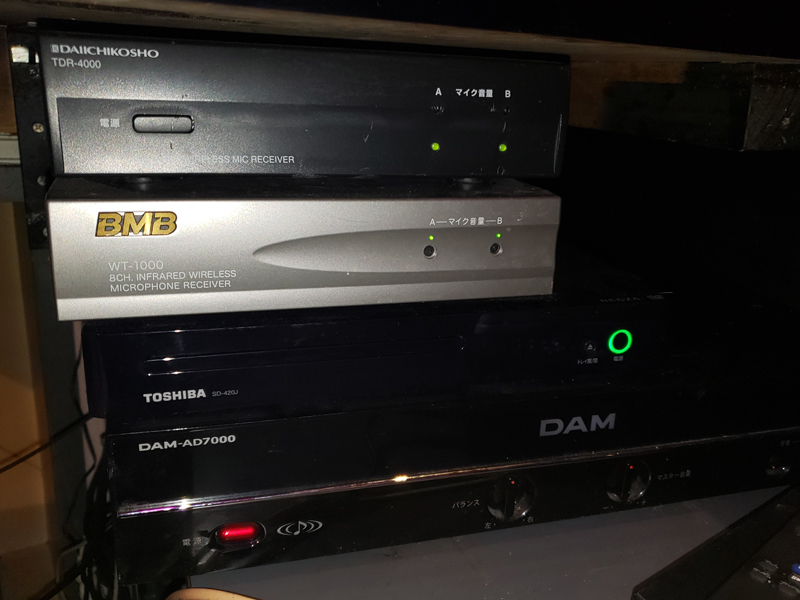
[Front side of peripheral equipment]
DAM TDR-4000 (after replacement)
BMB WT-1000
TOSHIBA SD-420J
DAM-AD7000
The picture above shows dam wireless microphone receivers (BMB wireless microphone receiver before replacement), BMB wireless microphone receivers, TOSHIBA Blu-ray players, and DAM karaoke amplifiers in order from the top. The karaoke body is sitting on the shelf under it.
So, as shown in the following photo, we turned over the karaoke body and peripheral devices and checked the connection status between the communication karaoke body and the microphone.
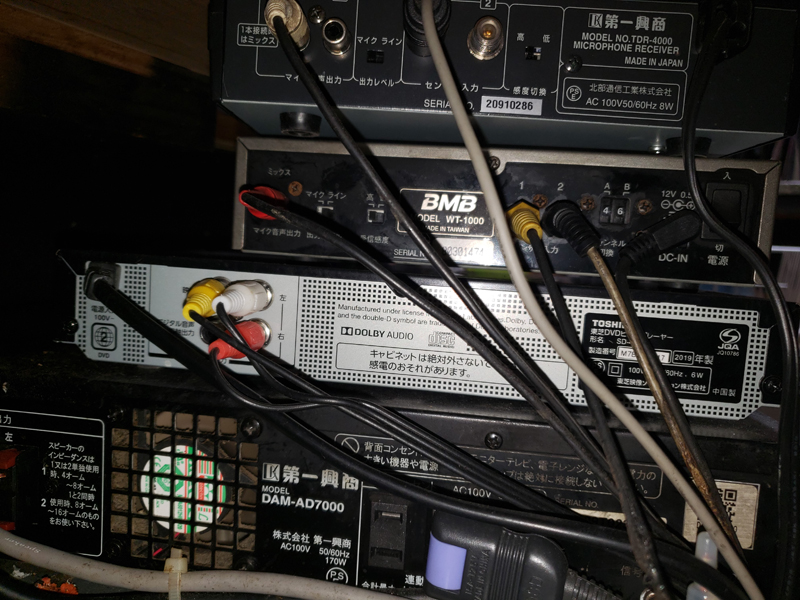
[Back side of peripheral equipment] 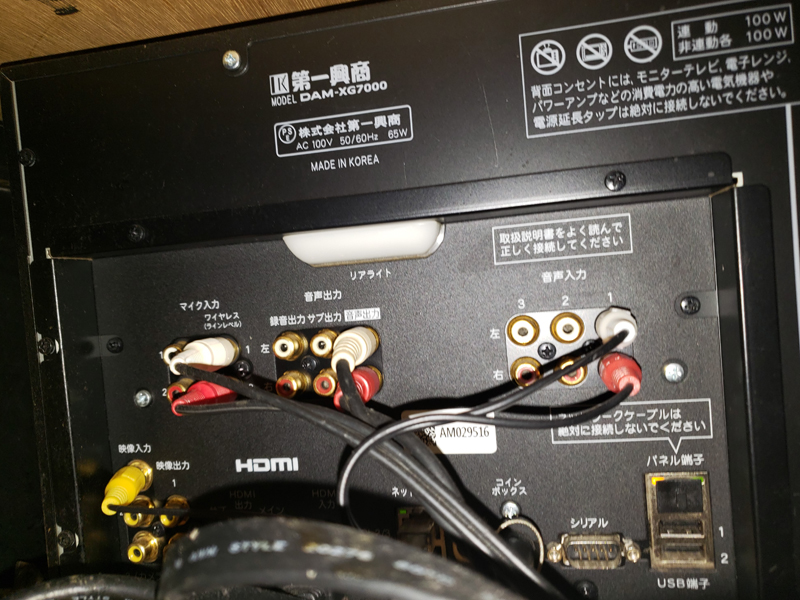
[Back side of the karaoke body]
DAM-XG7000
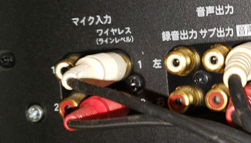
When we followed the connected cable, we were able to confirm that the two BMB wireless microphone receivers were consolidated into a single RCA cable with the RCA's two-distribution adapter and stuck to the wireless microphone input terminal of the karaoke body (DAM-XG7000).
However, such a way of connecting is noisy, and it does not seem to be very good.
As shown in the following photo, the main unit has two more microphone input terminals left over.
If you switch the selector of the output level on the back side of the wireless microphone receiver from the line to the microphone, the distribution adapter does not seem to be necessary, but it is troublesome to connect the cable now, so according to the current connection method, I replaced the wireless microphone receiver of one BMB with the wireless microphone receiver (TDR-4000) of DAM.
3. Replacement of external light receiving units
External light receiving unit (TDS-N10 / WS-100) 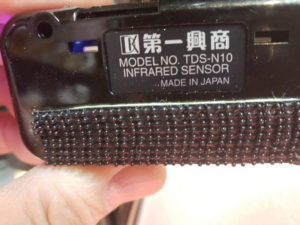

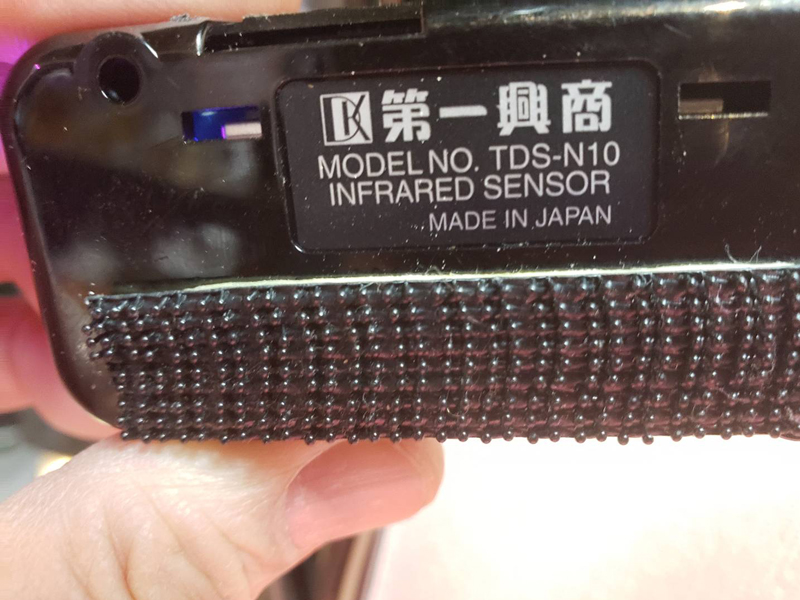
Since only one external light receiving unit was included in the infrared wireless microphone set purchased this time, only one BMB light receiving unit (WS-100) was replaced with a DAM light receiving unit (TDS-N10).
Wireless microphone receivers can connect two light receiving units to the sensor input terminal using a dedicated connection cable, but in fact, if it is not very large, I think that there is no particular problem in operation even if it is only one connection.
4. Channel Settings
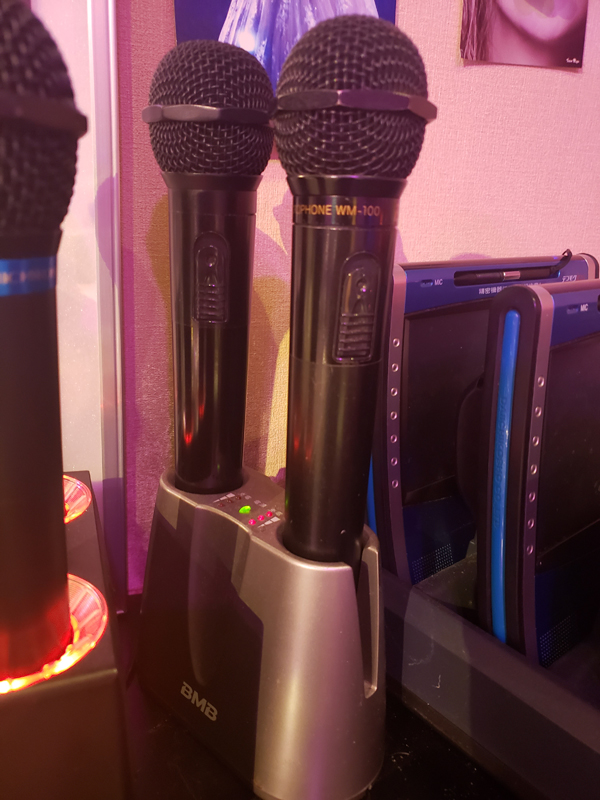
BMB WM-100
This section is the most important setting.
When operating two or more wireless microphone receivers, both radio and infrared systems, channel settings are required to avoid interference with radio waves.
The picture above shows the existing microphone BMB WM-100, but you'll need to check or change your channel settings to avoid conflicts with the frequency band of the newly installed DAM microphone system.
In fact, Dai-ichi Kosho's TDM-700 infrared wireless microphone, which I purchased this time, uses a frequency of 2MHz band (2.06MHz/2.56MHz), and its frequency is fixed.
Therefore, the frequency must be set at the rotary SW of the BMB wireless microphone receiver (WT-1000) and microphone (WM-100).
By the way, the correspondence of the channel and the frequency to be set is summarized in the following table.
Frequency table used by channels (WT-1000)
| Channel | Frequency |
|---|---|
| 1 | 4.55 MHz |
| 2 | 4.95 MHz |
| 3 | 4.25 MHz |
| 4 | 4.75 MHz |
| 5 | 4.10 MHz |
| 6 | 4.40 MHz |
| 7 | 2.06 MHz |
| 8 | 2.56 MHz |
Since the DAM microphone system uses the 2MHz band, channels 7 and 8 cannot be set from the table above.
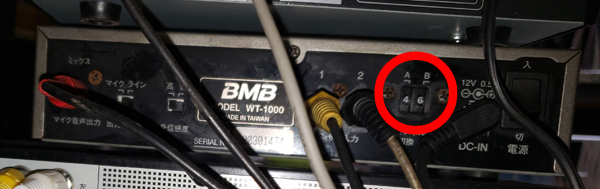
Therefore, as shown in the following photo, we set BMB microphone A to 4 (4.75 MHz) and microphone B to 6 (4.40 MHz).
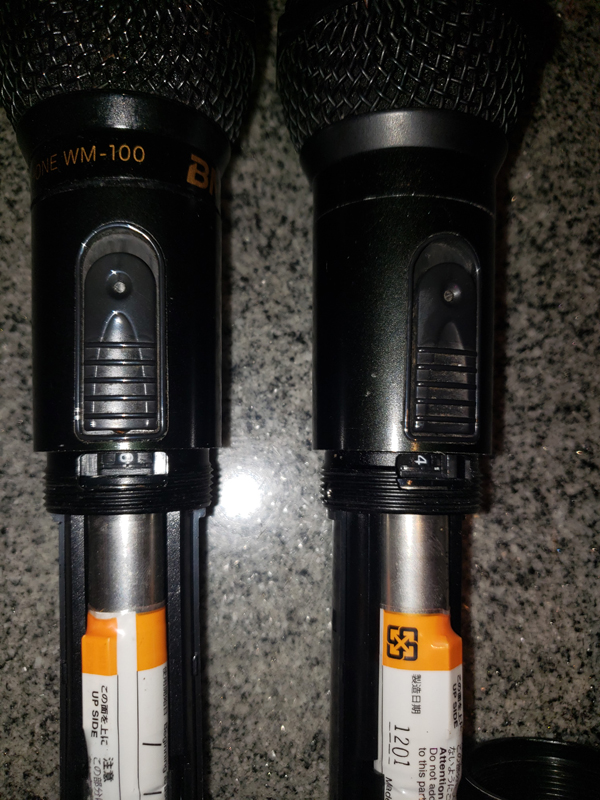
The channel settings on the microphone (WM-100) are set by removing the grip cover counterclockwise and with rotary SW.
The wireless microphone receiver (WT-1000) can be configured at the rotary SW on the back of the enclosure, as shown in the following photo.
5. Microphone testing and gain adjustment
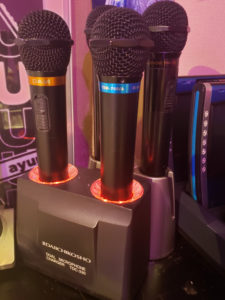
TDM-700A/B (charging) 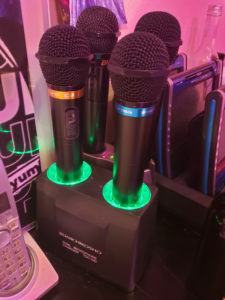
TDM-700A/B (Charging complete)

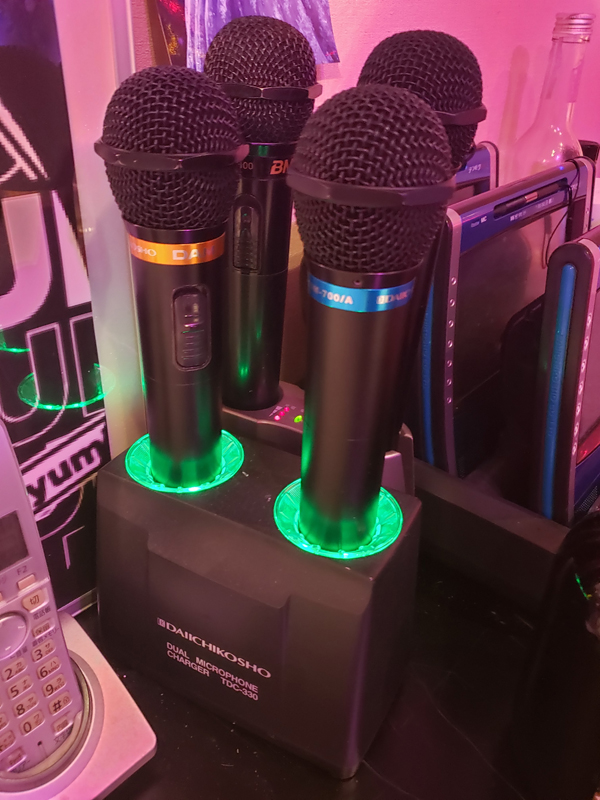
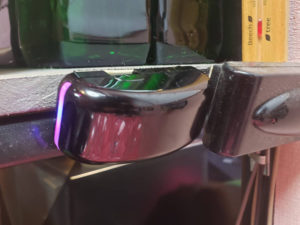
As a final touch, connect the power cable to the microphone charger (TDC-330) and mount two infrared microphones (TDM-700A/B).
While charging, the color changes to green illumination when charging is complete with red illumination.
Then test the microphone volume.
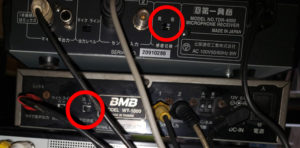
First, set the receive sensitivity selector for DAM and BMB wireless microphone receivers to "high" as follows: In addition, since it is connected from the microphone audio output terminal to the microphone input (line level) terminal of the main unit, the selector of the output level is set to "Line".
In this case, the gain is expected to be different because of the combination of microphone systems from different manufacturers.
Gain adjustment can be done by anyone if there is one minus drabar.
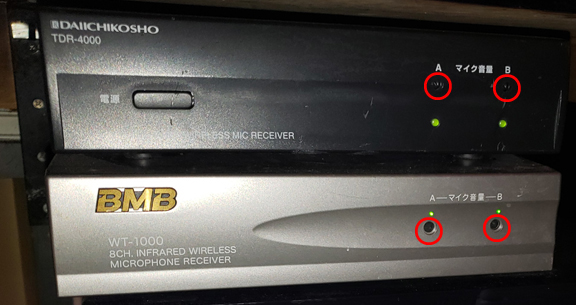
As shown in the following photo, there is a hole in the front part of the microphone volume A/B in the front part of the housing with the DAM wireless microphone receiver (TDR-4000) and the BMB wireless microphone receiver (WT-1000), so plug the drabar in it and adjust the clockwise + clockwise clockwise.
If the volume of the DAM microphone and the BMB microphone match, this work is completed. 😀