Last updated: April 5, 2023 at 9:08 AM
Replaced the BIOS/CMOS backup battery because the time of the notebook pc (MSI U100) renovated to Win 10 is not preserved.
The U100 renovated its Windows XP laptop to Windows 10 in June of this year as described in the blog below.
🔗 Windows XP laptop (MSI U100) added memory and renovated to Windows 10
However, it was still not perfect.
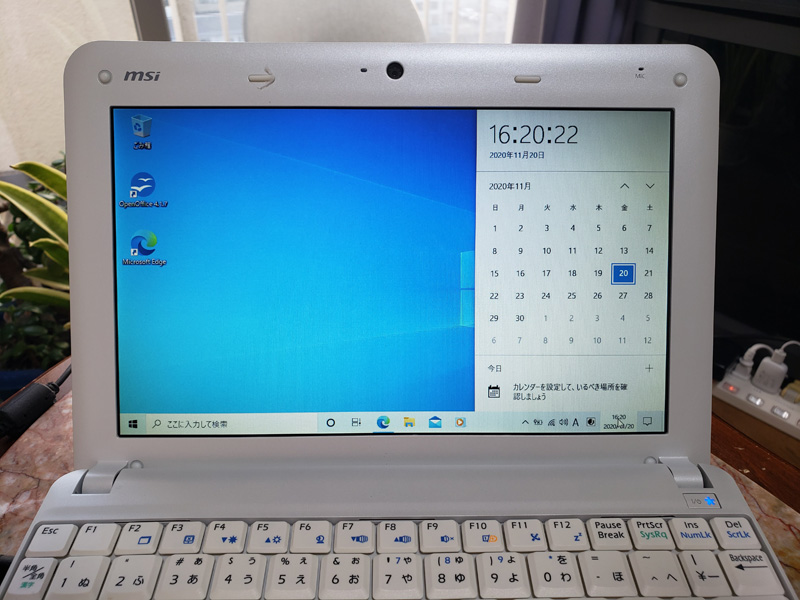
After a long time, I turned on my U100 and started it, and the clock was not functioning. The BIOS/CMOS backup battery seems to be out because of the years.
If you cannot back up the time, not only will you not be able to get the current time from the Internet, but you will also not be able to access the SSL (TLS) site in your browser.
There is no first use of this laptop, but I want to keep it moving, so I purchased a new battery and repaired it.
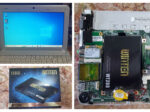
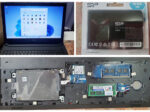
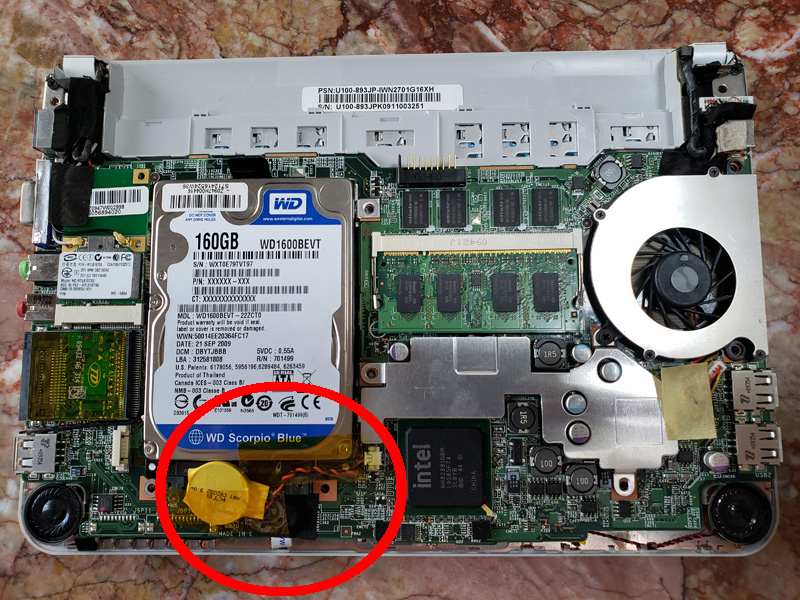
The BIOS/CMOS backup battery of the U100 is a red circle on the board as follows.
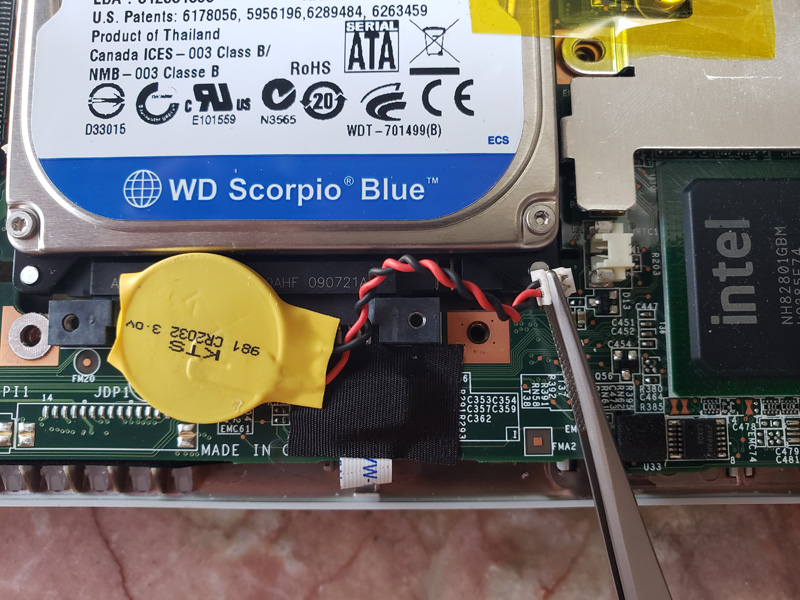
To remove it, carefully unplug the power connector using tweezers. The battery body is only fixed with double-sided tape affixed to the back side and taping in two places.
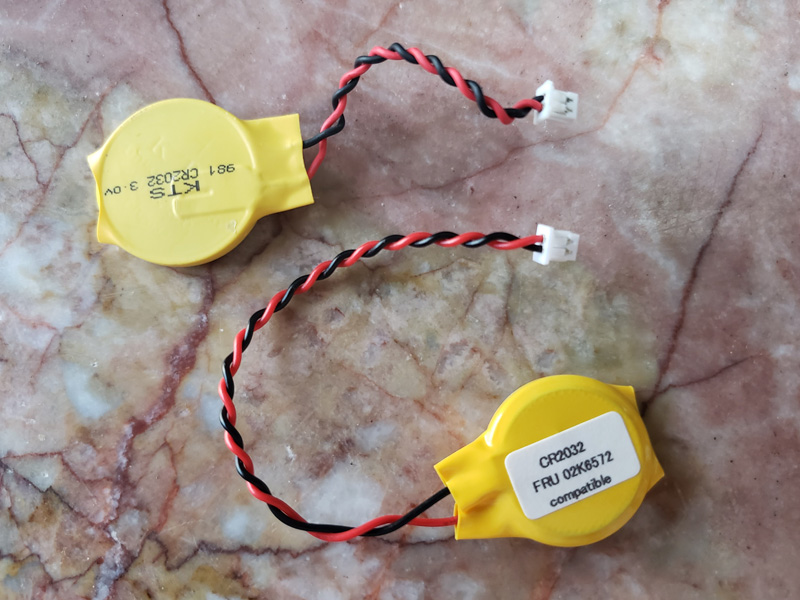
If it is a battery alone, the model number is CR2032, so you can buy even 100 uniforms, but since it is a cable connection method, it cannot be used as it is.
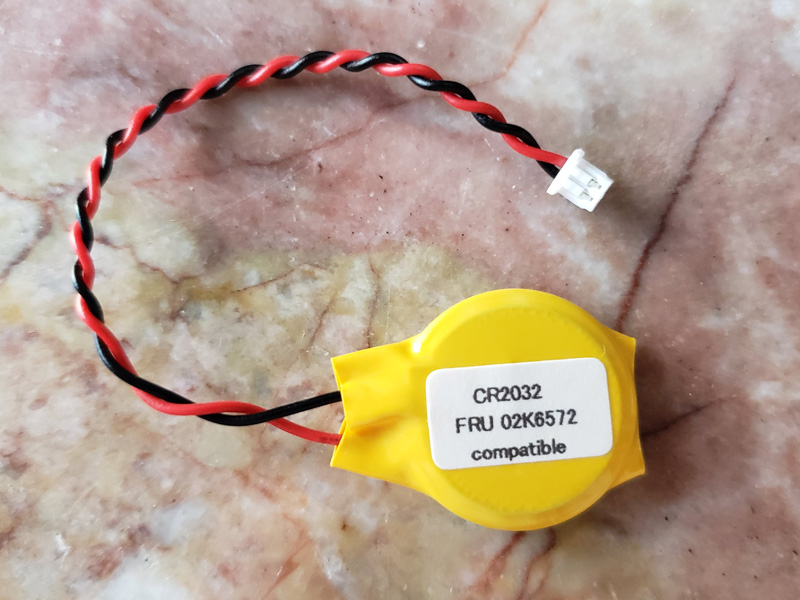
Therefore, as follows, I purchased something like the same connector shape (CR2032 lithium metal battery / 3V / cable with 2PIN connector) from Amazon for 600 yen (including postage).
But there was a bit of a problem.
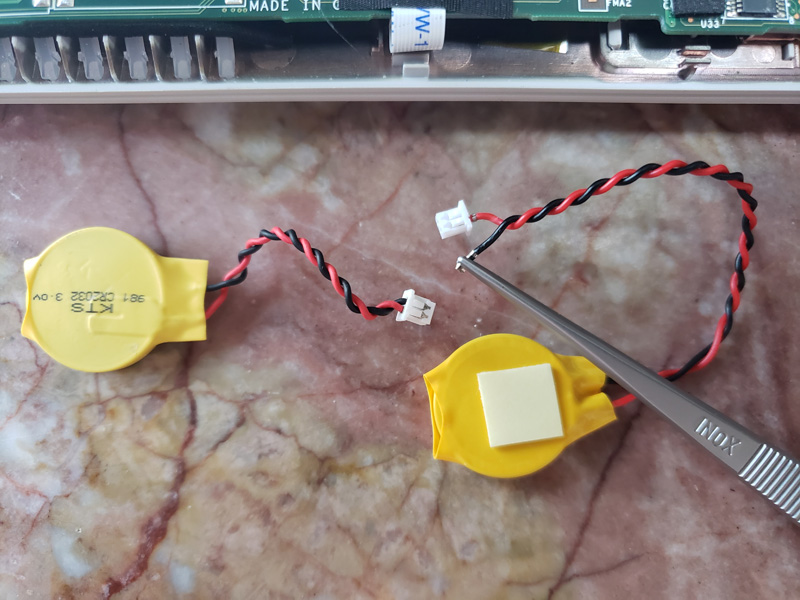
As in the following image, it turned out that the polarity (±) of the connector part of the battery purchased this time is reversed from the battery taken out of the base earlier.
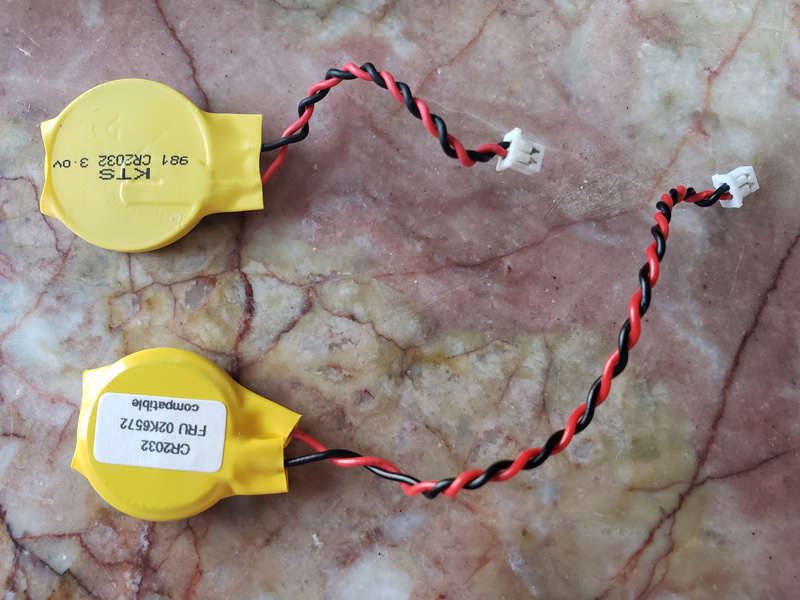
Therefore, the cable was pulled out of the connector with tweezers as follows, and the polarity was reversed.
After attaching the finished BIOS/CMOS backup battery to the board and returning the back cover to its original state, the H/W work is complete.
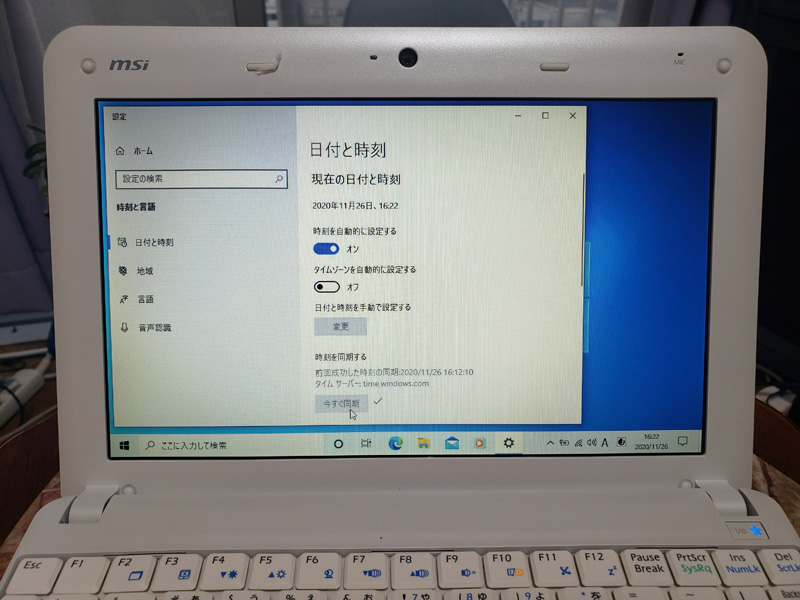
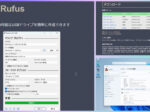
The last is to check the operation. When I turned on my U100 and Windows 10 started, in the "Adjust Date and Time" setting, I clicked "Synchronize Time" ⇒ "Sync Now" to make sure it worked properly, and I finished all the work safely.